There is no doubt that I love photography.
There's also no doubt that I click and click to no extent, because.....well.....because I can.
According to my hubby, since I have added phtography to my hobbies, it has opened my eyes and I have become much more observant.
I don't disagree.
I see things which before I never even knew existed.
So, the love to click is definitely there.
But with that love there is also another love.
The love to learn new things.
And with that comes...experimenting.
I experiment, A LOT!
Some turn out well and then others....well you know.
Tonight I came across a post with one word attached to it.
"Adamski Effect"
Okay, okay, hold your horses, I know that's more than one word.
Anyway, I had to look up that "effect" and see if I could replicate it using Photoshop.
I grabed a random photo I took a couple of days ago.
Nothing really special except for the sun going down and the slight silhoutte of the parked cars.
I then followed the instructions for creating the Adamski effect.
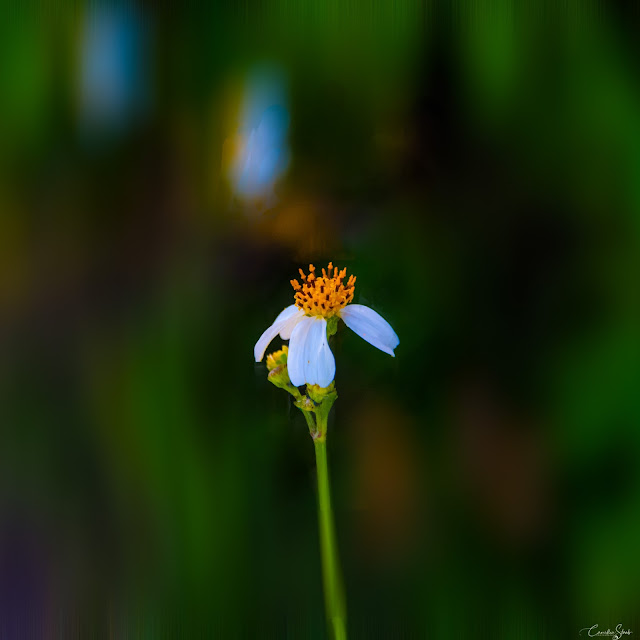
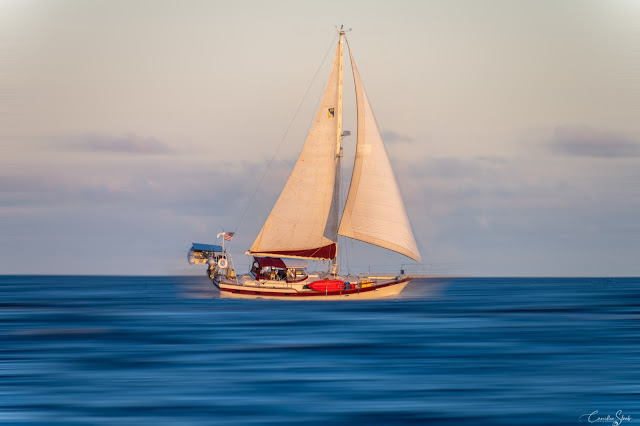
I ended up with the following image.
Needless to say this is a first attempt and also the photo was not much to start with, but what do you think...does it have a potential to try it on a much better photo where maybe one specific item "needs" to be in focus, while the rest becomes somewhat of a blur?
Here's to having a fun time experimenting!
By the way if you want to learn this technique, below is the link I used.
https://photographychef.com/how-to-get-the-adamski-effect-in-photoshop-step-by-step/
Happy experimenting!!!
Incidentally, if you do experiment with this technique, don't hesitate to tag me, would love to see your result. 😉




 Posts
Posts

